Geofences: Show targeted ads to audiences that have or will visit specified locations based on drawn fences.
Location Groups: Save the fences for future use. These groups are saved at an advertiser level and can be added to multiple ad groups.
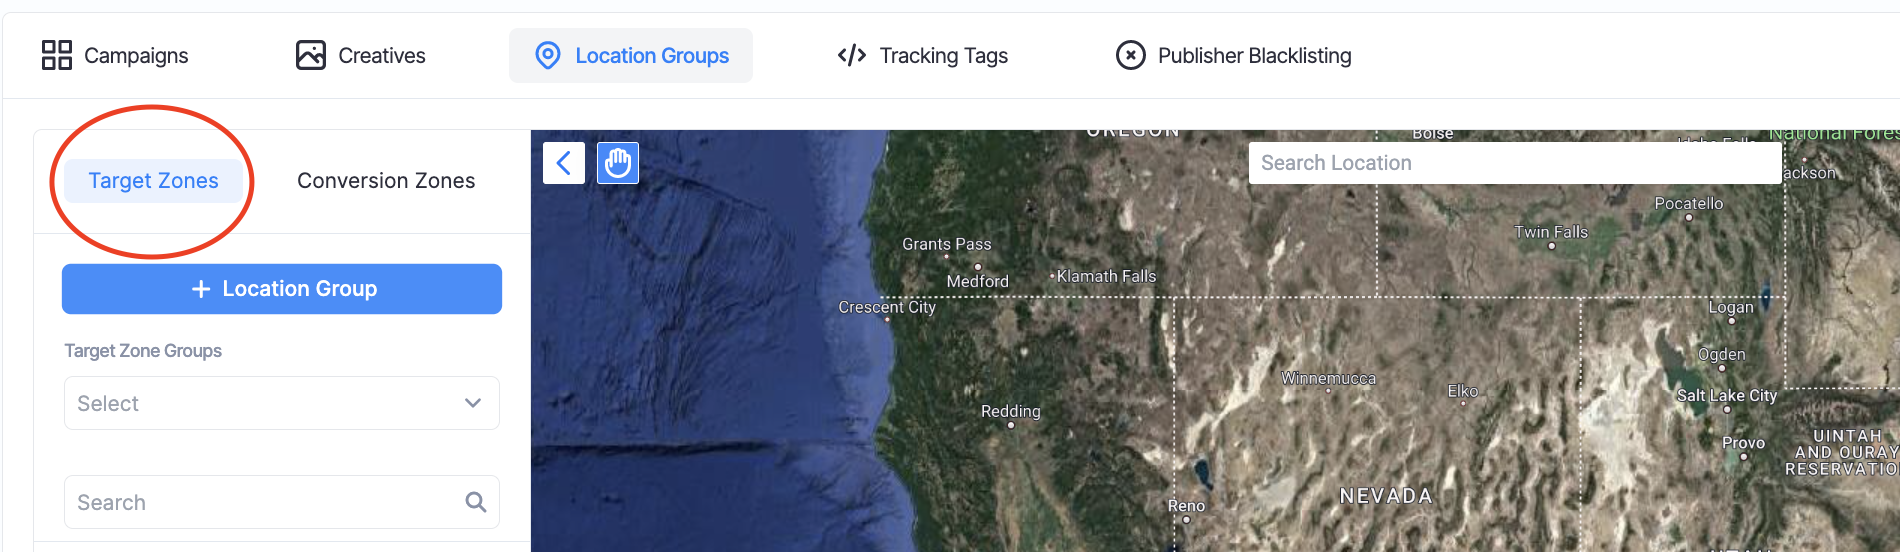
To draw geofences for your location-based campaign, navigate to the Campaign tab in the navigation bar on the left side of the screen and select Location Groups.
***Note: If you are an agency, please make sure the correct advertiser is selected in the drop-down box at the top of the screen.

In the top left corner of the screen, select the location group type.
Target: Track device IDs that enter the geofence around a specific location.
Conversion: Track device IDs that have entered target zones, and then gone to your "conversion" zone.
select + Location Group or select the existing location group that you would like to edit or add to.
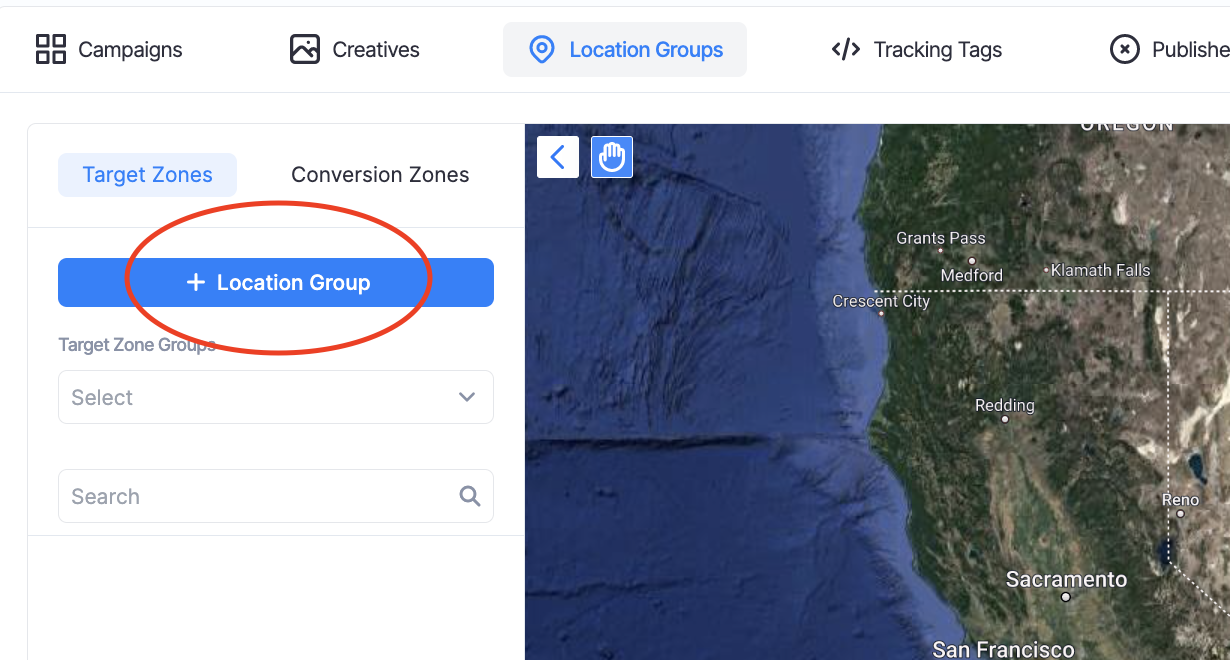
***Note: If you draw fences in a location group, your geofences will save and prevent you from having to redraw the same fences in the future.
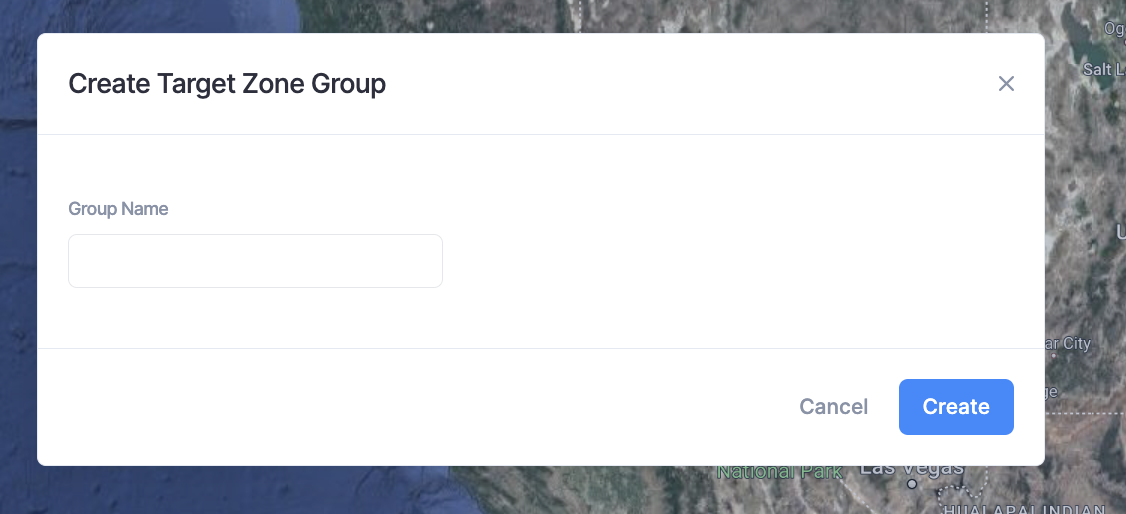
Enter your location name and select "Create".
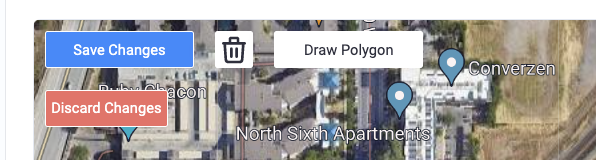
Next, In the top left corner of the map, you will see three tools.
Hand tool: Click/edit/drag polygons.
Delete tool: Click on a polygon(s) and designate it to be deleted
Draw tool: Draw the fences for your geofence. Target zones will appear blue and conversion zones will appear green.
***Note: Avoid drawing across major streets and highways because you will gather too many unrelated device IDs from drivers passing through. Make sure geofences don’t cross over themselves, other target zones, or other conversion zones.
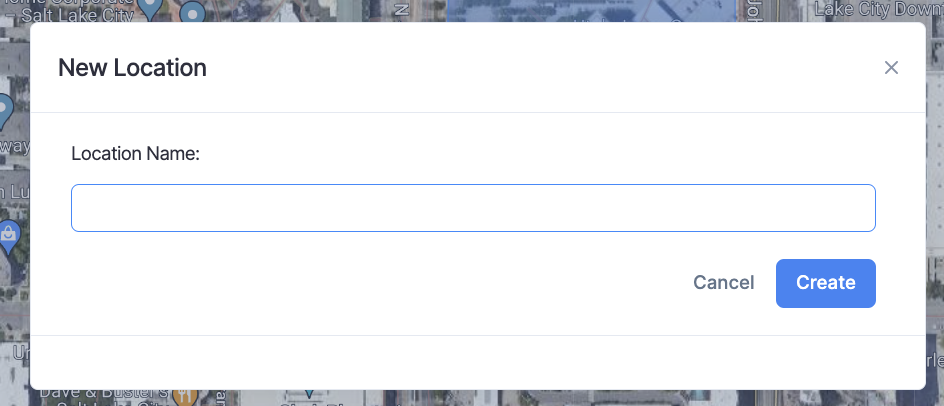
After drawing your polygons, you will be prompted to enter your location name. Your location will not save unless it has a name.
After drawing your polygon, a confirmation will appear in the top right corner of the screen. 
If you make any changes to your geofences on the map, click save to save those changes.
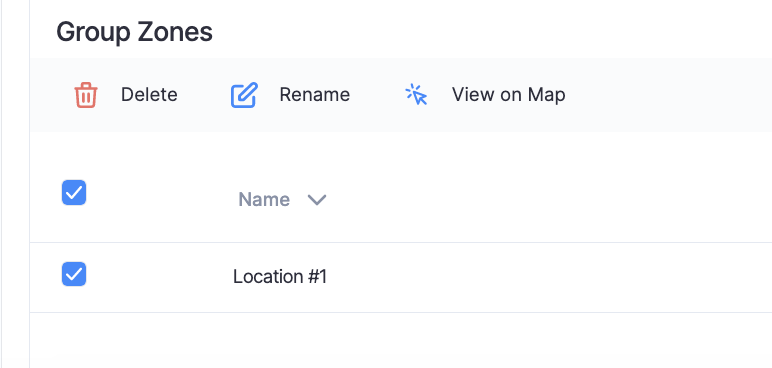
Below the map, you will see a complete list of your geofences. Select the dotted menu to rename, delete, or view the location on the map.
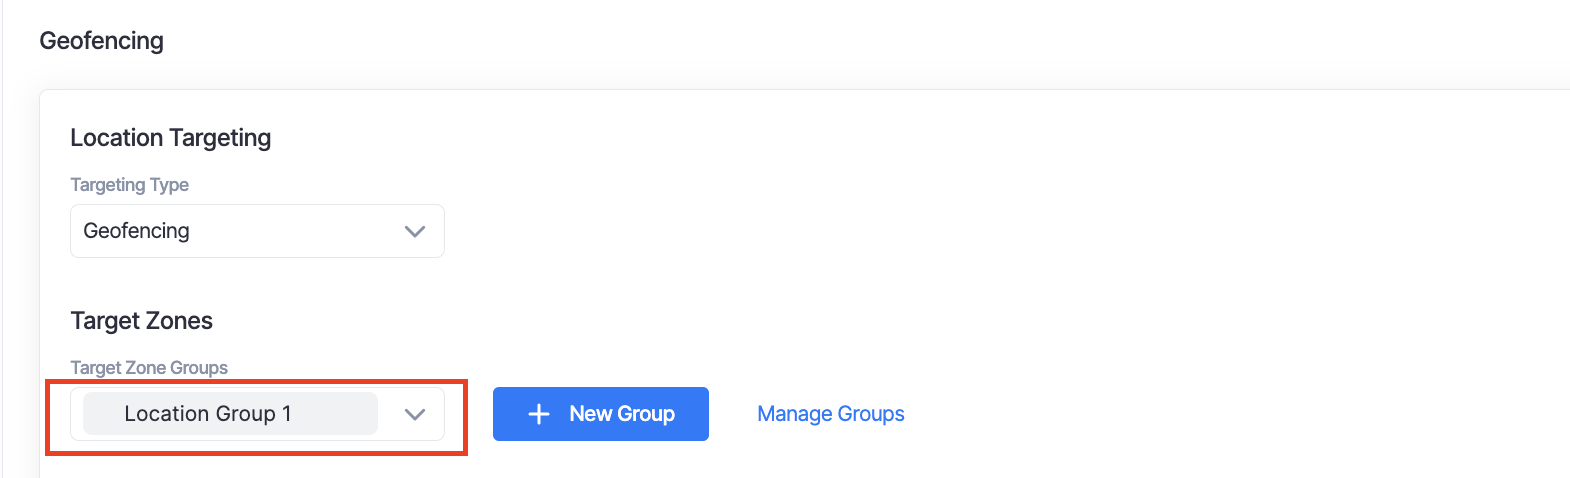
After your location group has been created, you will have the option to apply it to any geofencing ad group under your advertiser. Location Groups may be applied in the geofencing section of your ad groups under "Target Zones"
For any questions about drawing a geofence or applying location groups, select the chat icon at the bottom of the screen. Our team is happy to help.