Step 1: Adding an Advertiser
This step is crucial for agencies, as it's a prerequisite before creating your first campaign. However, for brands, this step is not needed.
To add your first advertiser please visit our article on How To Add an Advertiser.
Step 2: Create an Audience
Navigate to the "audiences" section of your account to collect your targeting audiences. For more information on how to use our audience manage tool, please visit our knowledge portal page | Audience Management Tool.
Agility offers many audience types, for help on choosing the right type for your campaign, please visit How To Choose the Right Audience
Step 3: Uploading Creatives
To upload creatives into Agility's creative management tool please view our Video | How to use Creative Management
If you would like to review our creative requirements that may be found on our Ad Requirements page.
Please note that Agility offers creative services which can be requested in the top right corner of the creative management section. To view our requirements for this service, please visit our Ad Design Services page. 
Step 4: Tracking Tags
Tracking Tags are an important step before building out your first campaign. Tracking tags allow us to track user activity after clicking on an ad. To learn how to install conversion or retargeting tags, please visit the below resources:
- What is a Tracking Tag
- How to Set Up a Tracking Tag
- How to install Google Tag Manager on a Wordpress Website
- How to Install the Universal / Retargeting Pixel
- How to place a Conversion Pixel with Google Tag Manager
Step 5: Setting up your Campaign
Please review our article on How To Create a New Campaign
Step 6: Setting up your Ad Group
Please review our articles on
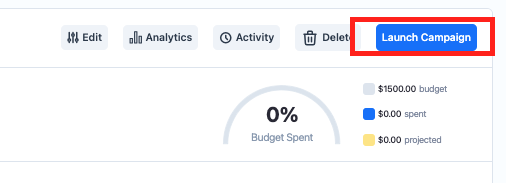
Step 7: Launching your Campaign
After completing the above steps, you may activate your campaign by clicking the blue "Launch" button in the right-hand corner.
Please note that your campaign will undergo a 48-hour review by our team before approval.
Related Articles:
How to Create a Location Group and Draw Geofences